01
Reduce distracting details
Ask AI to remove stray marks, background clutter, or secondary elements that pull attention away from the main subject.
Upload a photo, reference image, or generated stencil, then describe what you want to remove, change, or refine with AI.
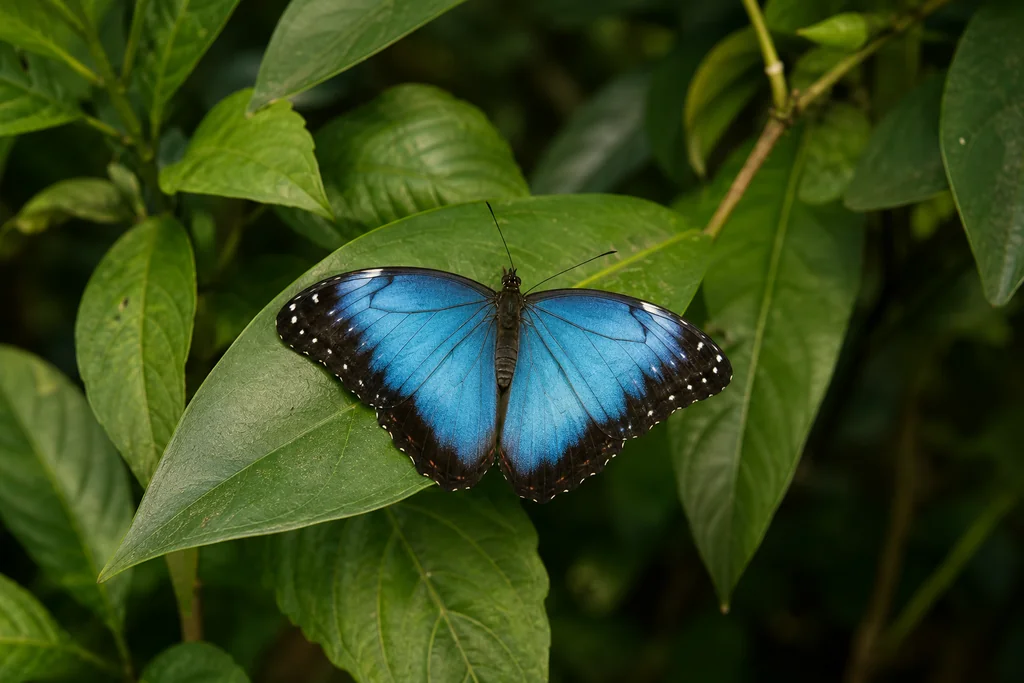
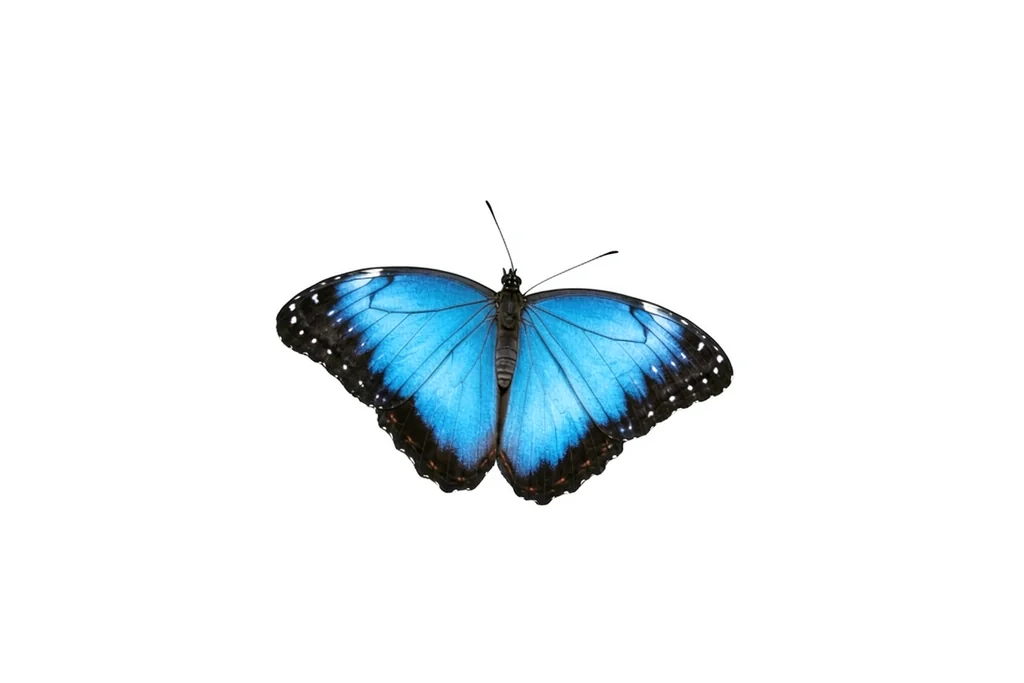
Example prompt
Remove the leaves and busy background, isolate the butterfly, and place it on a clean light background while preserving its shape and colors.
Use the AI Image Editor when you already have the right subject or design direction but the image still needs a change. Upload a photo, illustration, screenshot, tattoo reference, or generated result, then describe the edit in everyday language.
The editor creates a new version from your image and prompt. It is useful for reducing visual distractions, exploring a different color or composition, preparing a cleaner tattoo reference, or continuing to refine a stencil result without starting over.
Ask AI to remove stray marks, background clutter, or secondary elements that pull attention away from the main subject.
Separate a subject from a busy scene, request a cleaner setting, or make the composition easier to use as a reference.
Describe a color adjustment, a clearer focal point, or a different arrangement while explaining which parts should stay recognizable.
Reduce unnecessary shading or decorative detail before stencil generation, or continue refining a generated stencil while preserving its main direction.
The workflow stays intentionally simple. Start with an image, request one clear change, then review the generated version before deciding what to adjust next.
Start with a photo, illustration, reference image, screenshot, or generated stencil. A clear subject makes it easier to describe the intended edit.
Write one focused instruction. Name the subject, the requested change, and any shape, color, composition, or linework you want the new version to retain.
Compare the result with your input. If another change is needed, adjust the prompt and generate another version rather than packing unrelated requests into one step.
Good prompts are specific about the subject, the change, and the parts that still matter. Use these as starting points and adapt them to your image.
Useful when the subject is already right but nearby details make the image harder to review or reuse.
Use this structure when you want less visual noise without changing the central subject or overall idea.
A practical starting point for a dense generated stencil that needs a simpler direction before final review or stencil preparation.
Use the editor before Photo to Stencil when the reference has the right design but contains clutter or shading you do not need.
Choose the tool based on the image you already have and the result you need next. Each workflow has a different starting point.
Use text instructions to change an existing photo, reference image, design, or generated result.
Convert a regular photo, sketch, screenshot, or prepared reference into cleaner tattoo stencil line art.
Start from a photo of a tattoo already on skin and extract the visible ink from skin texture, lighting, and camera noise.
Upload an image, then describe the change you want in clear language. Include the main subject, what should change, and anything important that should remain recognizable in the new version.
You can ask AI to reduce distracting details, simplify or change a background, explore color or composition changes, and refine an existing reference or generated design. Results vary with the source image and the clarity of the prompt.
Yes. The editor can create another version from a tattoo reference or generated stencil. Use focused prompts to reduce unnecessary detail, simplify shading, or adjust the overall direction, then review the result before printing or transfer preparation.
Use Image Editor to change an existing image with text instructions. Use Photo to Stencil to convert a regular reference into stencil line art. Use Tattoo Extractor when the tattoo already exists on skin and you need to separate the visible ink from the photo.
Upload a photo, reference image, or generated stencil and describe the change you want to make.