01
Upload your photo
Start with a photo, sketch, screenshot, or reference image. A clear subject helps, but you do not need to trace it manually first.
How to make a tattoo stencil
Turn a reference image into cleaner stencil line art with a simple flow: upload your photo, generate the stencil, then export the result for review, printing, or transfer prep.

With Stencil AI, making a tattoo stencil is simple: upload a reference, generate clean line art, then export the stencil draft.
The rest of this guide explains how to choose better photos and review the result before printing or transfer, especially if you are comparing AI generation with traditional tracing paper or design software workflows.
The product workflow stays intentionally short. Upload your reference, start the generation, then export the stencil draft when the result looks right.
Start with a photo, sketch, screenshot, or reference image. A clear subject helps, but you do not need to trace it manually first.
Stencil AI converts the image into cleaner stencil line art and simplifies visual noise, shadows, and texture.
Download the result and use it as your stencil draft for review, printing, thermal transfer, or final cleanup.
Photo-to-stencil workflows work best when the reference already has strong structure. The AI can simplify a photo into line art, but the source image still controls how readable the result will be.
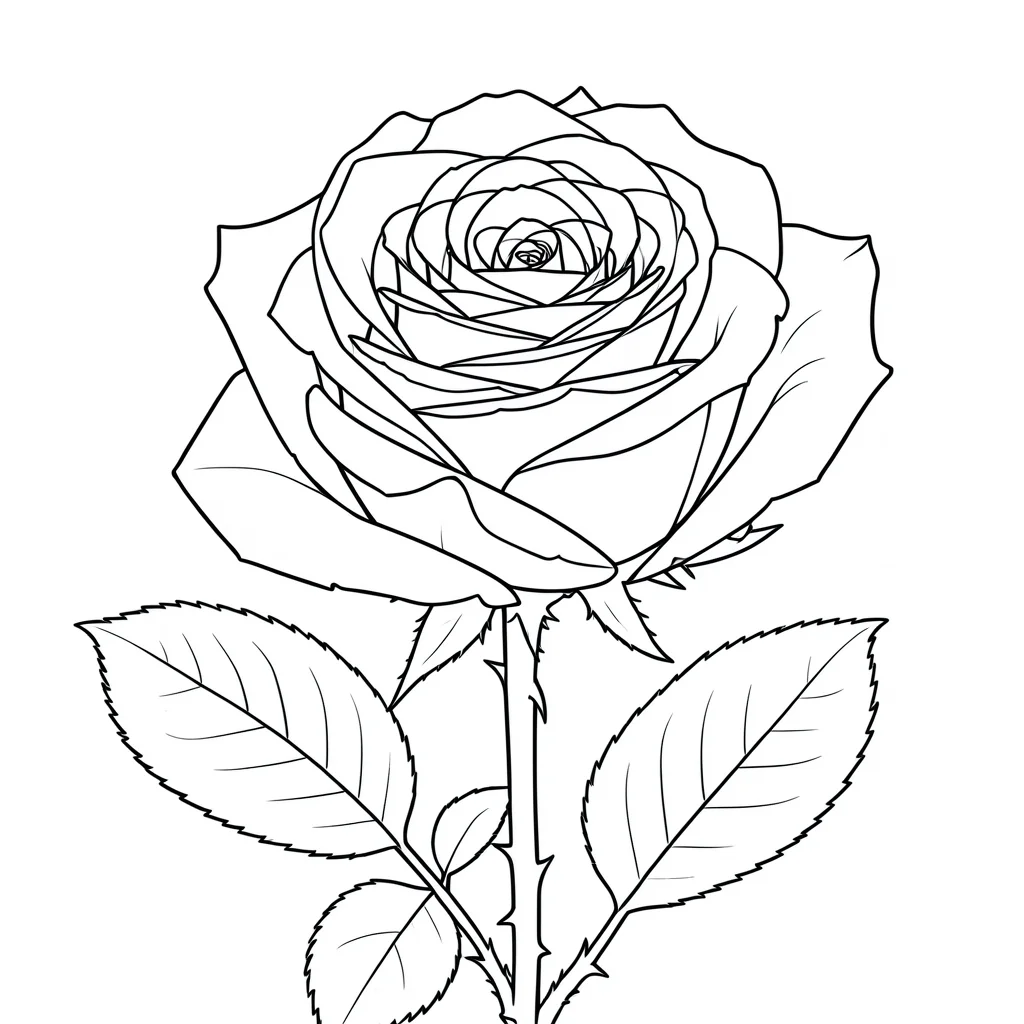
Portraits, flowers, animals, objects, symbols, and sketches can work well when the subject is sharp, separated from the background, and not buried in shadow.
Very dark images, low-resolution screenshots, heavy background clutter, and tiny subjects often create messy or incomplete stencil drafts.
A stencil for a small tattoo needs fewer lines than a large piece. If the output feels crowded, simplify the reference or choose a lower-detail result.
AI can speed up the draft, but it does not replace tattoo judgment. Artists should still review placement, line spacing, readability, and whether the stencil fits their transfer setup.
For manual workflows, the design is traced or printed onto stencil transfer paper, then applied to skin with the usual prep process.
For studio workflows, a clean black stencil draft is easier to send through a thermal printer than a noisy photo or shaded design.
Many artists still refine the draft in their preferred software before printing. Treat the AI result as a starting point, not the final professional decision.
These related pages match the next questions people usually have after learning how to make a stencil.
Use the dedicated generator page if your main goal is to create a stencil from a reference image.
See how artists can use AI drafts before cleanup, thermal printing, transfer paper prep, and final review.
Go straight to the upload workflow when you already have a photo, sketch, or screenshot ready.
Browse examples by theme before choosing the kind of reference you want to upload.
See simpler stencil directions when you want fewer details and easier review.
Yes. Use a clear photo with one main subject, then convert it into stencil-style line art. You should still review and simplify the result before printing or transfer.
No. Photoshop or Procreate can help with cleanup, but you can also start from an AI-generated stencil draft and refine only the parts that need human judgment.
You can download the generated result and use it as a stencil draft for your normal print or transfer workflow. Always check line quality and sizing before use.
Yes. Artists can use AI to create a faster first draft from client references, then apply their own cleanup, placement, and transfer decisions.
Upload a photo, sketch, or screenshot and generate a cleaner stencil draft before you move into final cleanup or transfer prep.